Integrate template in Laravel 9.x
If you need to see a tutorial about the older version you could find it here.
#STEP1: Find a template
There are plenty of websites on the internet that offer free one-page HTML templates. We have chosen one which we are planning to use for our tutorial.
Click on the link above and download the files.

We could see that we have assets and several HTML files.
If we open the generic index.html we see

really nice template.

#STEP2: Add the template in Laravel

Create a new folder in resources/views named layouts. In the newly created layouts folder add a file name app.blade.php. Paste the contents of the index.html into app.blade.php.
#STEP3: Create controller

Open the newly created file and add the following method

public function index() {
        //Get data from DB in here and pass it to the view

        return view('index.index', [
            'title' => 'Laravel Project about us',
            'text' => '<p>
                Lorem ipsum dolor sit amet, consectetur adipisicing elit, sed do eiusmod tempor incididunt ut labore et dolore magna aliqua. Ut enim ad minim veniam, quis nostrud exercitation ullamco laboris nisi ut aliquip ex ea commodo consequat. Duis aute irure dolor in reprehenderit in voluptate velit esse.
            </p>',
            'imgURL' => 'assets/images/about/about-part.jpg',
        ]);
    }
#STEP4: Register controller in routes
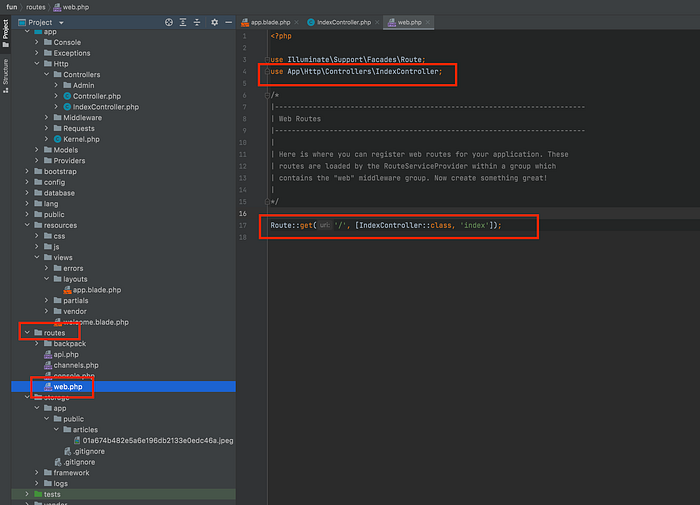
Open routes/web.php and make the changes shown on the image above.
use App\Http\Controllers\IndexController;
Route::get('/', [IndexController::class, 'index']);
Note: We are adding the controller with use so we could then state IndexController::class and the name of the method which we want to be executed.
#STEP5: Adjust layout template
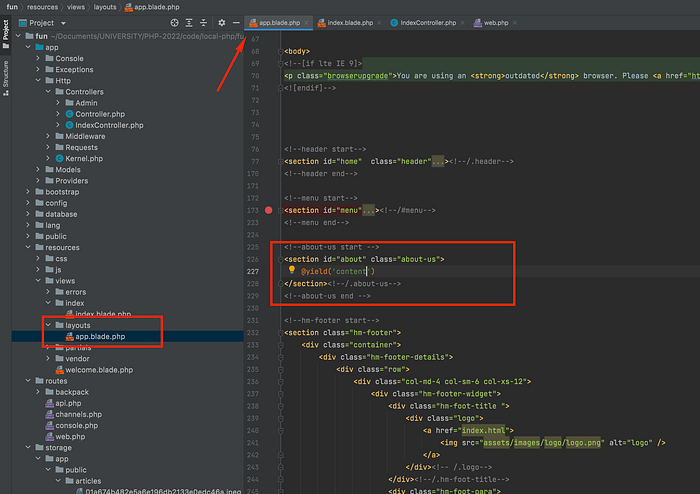
Edit resources/views/layouts/app.blade.php — remove most of the code and leave only the about section.
Note: We are leaving the header and footer part as well.
File after edit should be
<!--about-us start -->
<section id="about" class="about-us">
    @yield('content')
</section><!--/.about-us-->
More about @yield could be found here.
#STEP6: Create a view for the index controller
Create a new folder in resources/views named index.
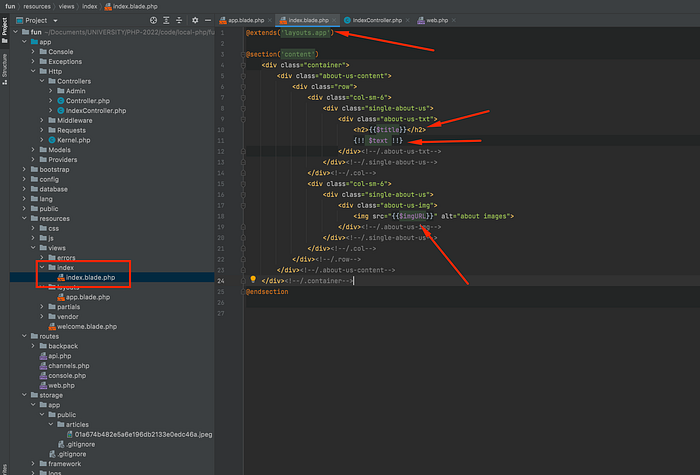
Create a new file in resources/views/index named index.blade.php
Content of the file is
@extends('layouts.app')

@section('content')
    <div class="container">
        <div class="about-us-content">
            <div class="row">
                <div class="col-sm-6">
                    <div class="single-about-us">
                        <div class="about-us-txt">
                            <h2>{{$title}}</h2>
                            {!! $text !!}
                        </div><!--/.about-us-txt-->
                    </div><!--/.single-about-us-->
                </div><!--/.col-->
                <div class="col-sm-6">
                    <div class="single-about-us">
                        <div class="about-us-img">
                            <img src="{{$imgURL}}" alt="about images">
                        </div><!--/.about-us-img-->
                    </div><!--/.single-about-us-->
                </div><!--/.col-->
            </div><!--/.row-->
        </div><!--/.about-us-content-->
    </div><!--/.container-->
@endsection
We are stating that we will extend the layout (this guarantees us that the header/footer/menu and etc will come ready for us).
Then we are stating that we will have a section named content and we are populating it.
Please note that we have {{$title}} — this is showing the data coming from the controller assigned to the title key.
{!! $text !!} — showing data from the controller assigned to the text key — which is not escaped.
#STEP7: Copy the assets folder
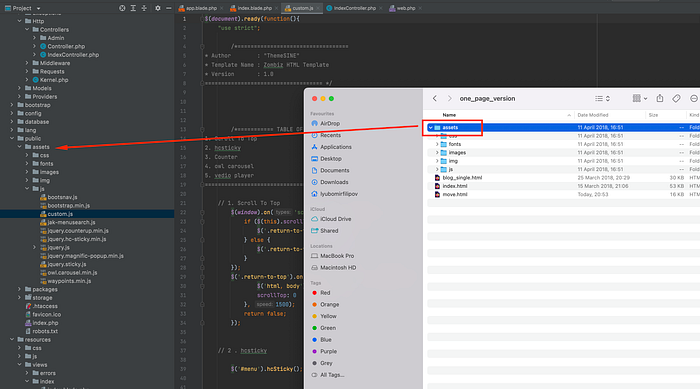
Copy the assets folder from the template into the public directory.
Note: This is only to have the template functional. Project in a ready steady will have those assets being compiled following Laravel standards — this is out of scope for this tutorial and for the students making their course works!